24 Pantry Organization Ideas That Actually Stay Tidy
A pantry is the one part of a kitchen nobody sees and everybody uses. Which is exactly why it drifts. You buy a second bag of rice because you cannot see the first one. Three half-empty boxes of pasta migrate to the back. Six months later you are digging for vanilla behind a wall of cereal.
Here is the thing most organizing advice skips: a messy pantry is usually not a storage problem. It is a visibility problem. When you can see everything you own in one glance, the system holds together with almost no effort from you.
Below are 24 pantry organization ideas that work in real kitchens. A proper walk-in, a couple of cabinet shelves, a narrow closet in a rental. Real products, real measurements, and a few color ideas near the end, because a pantry you actually like opening is a pantry you keep tidy.
Quick answer: Start by emptying the pantry and grouping food by how you cook, not by package type. Put daily items between hip and eye height, roughly 30 to 60 inches off the floor. Decant only the staples that go stale, such as flour, sugar, rice, pasta and cereal. Use clear bins with handles on high shelves, turntables in corners, and tiered risers for cans. Label everything, then rotate new groceries to the back. Most pantries need three things to stay tidy: fewer container types, more vertical dividers, and one ten-minute reset a week.
Start With Zones, Not Bins
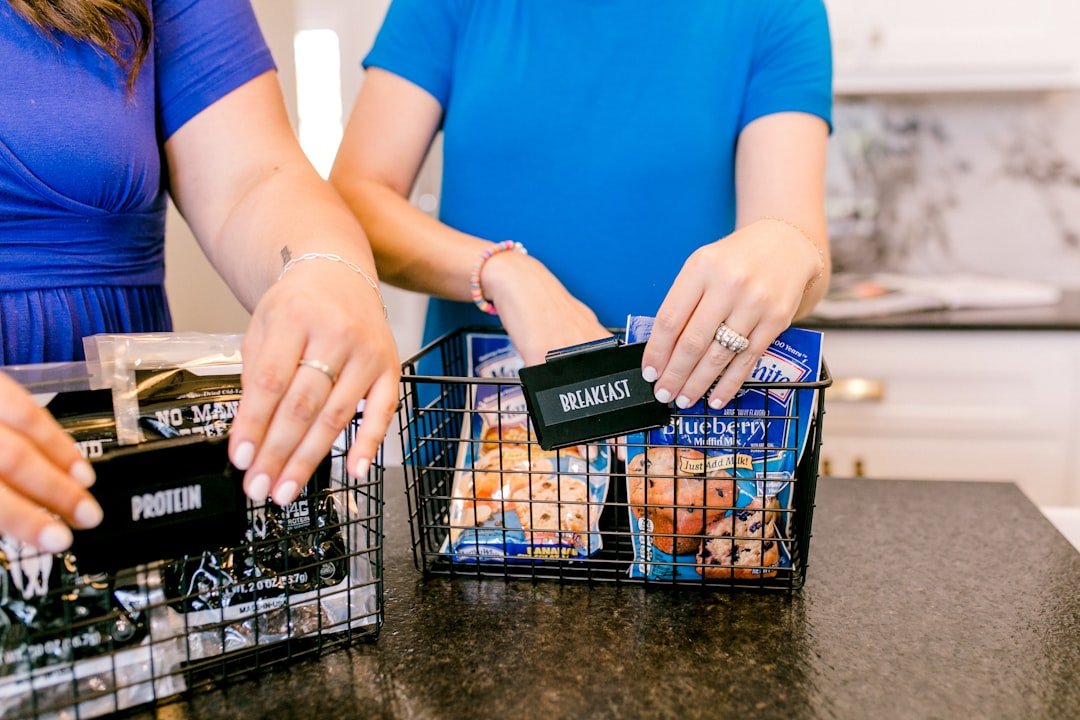
Buying bins first is the single most common mistake. You end up with a shelf of matching containers holding food you never eat, and the shelf still looks chaotic three weeks later. Sort first. Shop second.
1. Empty it completely, then group by how you cook
Take everything out. All of it. Wipe the shelves down while they are bare, because that never happens otherwise.
Then sort into piles based on the way you actually use food. Breakfast. Baking. Pasta night. Snacks. Coffee and tea. This beats sorting by package type, because you reach for a meal, not for a can. When breakfast lives in one place, mornings stop being a scavenger hunt.
2. Put daily items in the easy zone
The band between roughly 30 and 60 inches off the floor is the zone you can see and reach without stretching or squatting. That real estate goes to the things you touch every day: coffee, cereal, bread, olive oil, the snacks your family actually eats.
Above eye level goes to lighter, rarely used stuff. Party platters. Holiday baking supplies. The bottom goes to heavy items and bulk backstock, since lifting a five pound bag of flour down from a top shelf is how accidents happen.
3. Give kids a shelf of their own
One low shelf, one or two open bins, filled with the snacks you are happy for them to grab. No lids, no latches, nothing stacked.
The payoff is not just tidiness. Kids stop excavating the middle shelves looking for crackers, which is what wrecks a pantry faster than anything else.
4. Create one overflow zone for backstock
Bulk buying is only a saving if you can find the second bag. Pick one place for duplicates: the lowest shelf, a bin on top, or a shelf in the garage or basement. When the front bag runs out, you refill from the overflow zone.
The rule that makes it work is simple. Nothing goes on the working shelves twice.
Containers and Jars That Earn Their Space
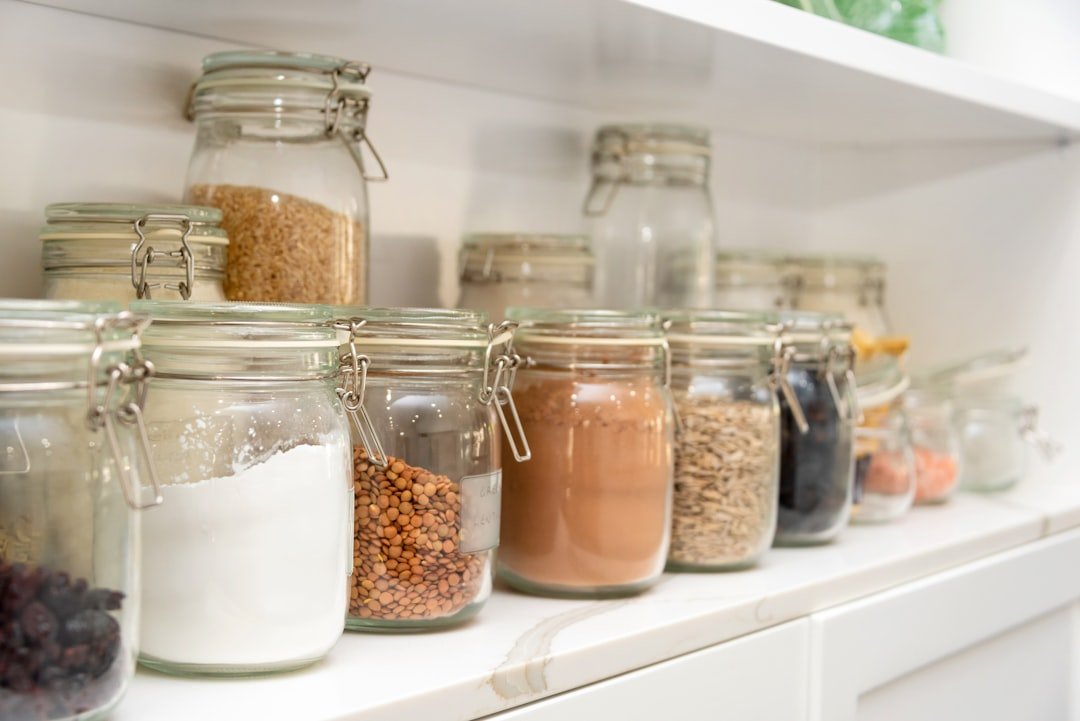
Decanting looks beautiful on Pinterest and it does help, but only for certain foods. Everything else is better off in its original packaging, where the cooking instructions live.
5. Decant only what actually goes stale
Flour, sugar, rice, oats, pasta, cereal, nuts, coffee, brown sugar. These genuinely last longer in an airtight container, and they are the ones that spill and attract pantry moths.
Canned goods, jars, spice tins and anything in a sealed pouch you finish in a week? Leave them alone. You are buying containers to solve a problem those foods do not have.
6. Pick one container system in two or three sizes
Mixed containers waste more space than mismatched food ever did, because nothing stacks or lines up. Choose a single modular family and stick to it.
OXO Good Grips POP containers are the reliable pick here. The push-button lid seals airtight with one hand, the square footprint means no wasted air between jars, and the sizes are designed to stack. Rubbermaid Brilliance is a cheaper clear option with the same logic. If you want glass, Weck and Fido jars look lovely on an open shelf, though they are heavier and less forgiving on a high one.
7. Choose clear over pretty for anything weekly
Opaque canisters look calm, right up until you cannot remember which one holds the bread flour. For daily staples, clear wins every time. You see the level dropping, so you restock before you run out mid-recipe.
Save the solid ceramic canisters for the counter, where they are decor doing a light job.
8. Turn loose snack bags into one lidded bin
Individually wrapped snacks are the enemy of a tidy shelf. They slide, they crinkle, they migrate. Empty the boxes and drop everything into one shallow open bin per category. Granola bars in one, chips in another.
Win the Vertical Space
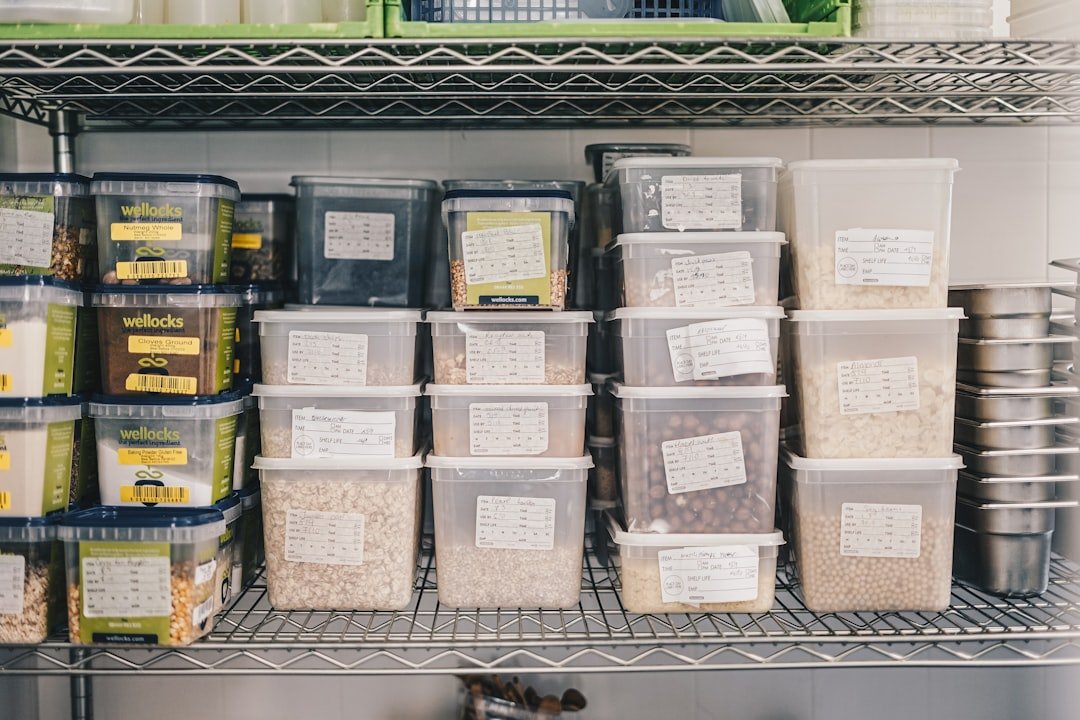
Most pantries have far more air than shelf. Standard shelf spacing runs about 12 to 14 inches, which is generous for a can that stands four inches tall. That gap is free storage you already paid for.
9. Add a shelf riser and get a second level
A simple wire or bamboo riser turns one tall shelf into two usable ones. Short jars, spice tins and small cans go on top, taller boxes stay underneath.
Measure before buying. Riser height plus your tallest item should still leave a couple of inches of clearance, or you will be tilting jars in sideways.
10. Use tiered can risers so you can read every label
Cans hidden three deep are cans you buy again. A three-step riser angles the back rows up so every label faces you. YouCopia ShelfSteps and similar expandable versions adjust to the shelf width, which matters in an odd-sized closet.
11. Put a turntable in every corner
Corners swallow bottles. A 12 inch turntable fixes that for oils, vinegars, syrups and sauces. Spin, grab, done, with no bottles knocked over in the process.
Look for one with a raised lip. Without it, a tall bottle of olive oil will walk itself off the edge the first time you spin it fast.
12. Handle bins on the top shelf, always
Anything above eye level should live in a bin with a handle, so you can pull it down instead of blindly feeling around. Group by category: baking supplies in one, party goods in another.
Shallow bins beat deep ones up high. A 6 inch deep bin you can actually lift with one hand is worth more than a 12 inch bin you have to wrestle.
Doors, Drawers and Awkward Corners
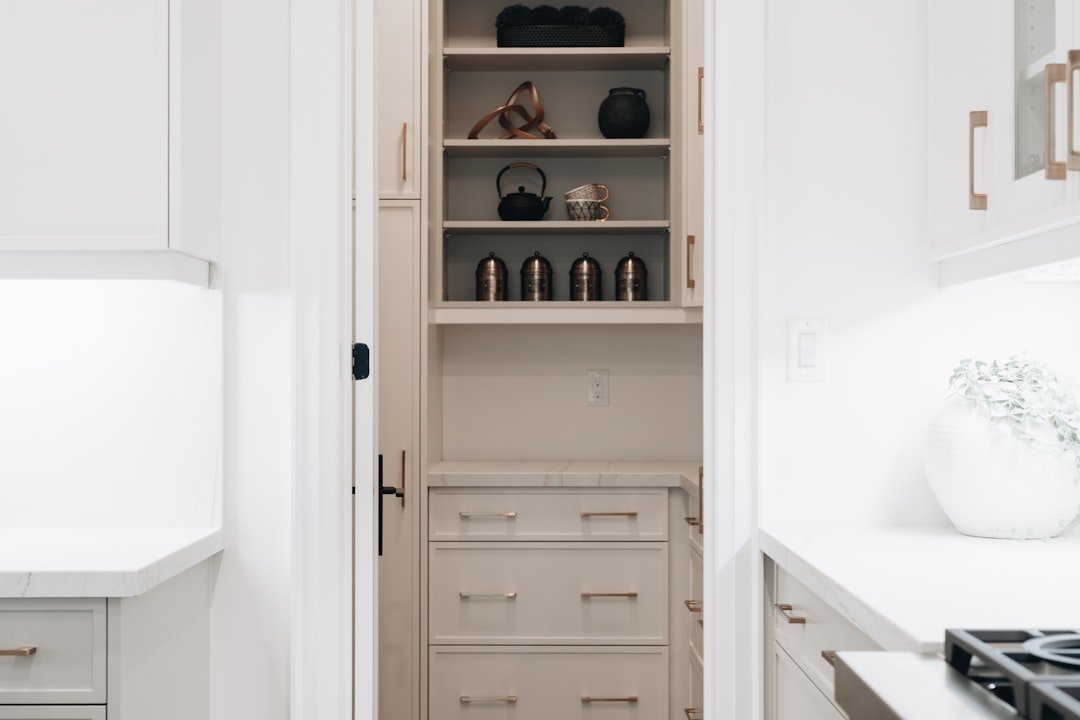
The wasted space in a pantry is rarely on the shelves. It is on the back of the door, in the dead zone behind a deep bottom shelf, and in the six inch gap beside the fridge.
13. Mount a rack on the back of the door
Door racks are usually 4 to 5 inches deep, which is exactly right for spice jars, foil, plastic wrap, sandwich bags and small bottles. Over-the-door versions need no drilling, so renters are covered. Rev-A-Shelf makes mounted versions that screw straight to the door if you own the place.
Check your door clearance first. A rack plus a full front shelf can stop the door closing, which is a frustrating discovery to make after the screws are in.
14. Swap a deep bottom shelf for a pull-out drawer
Anything deeper than about 16 inches loses its back half to darkness. A pull-out wire or wood drawer brings the whole depth to you in one motion. Rev-A-Shelf and Container Store Elfa both make retrofit versions that mount to an existing shelf.
This is the single best upgrade for a bottom shelf, where heavy bulk items otherwise disappear behind each other.
15. Slide a narrow rolling cart into the gap
That awkward 6 to 12 inch gap next to the fridge or at the end of a run of cabinets fits a slim rolling cart perfectly. Load it with cans, bottles or baking supplies and roll it out when you need the back.
In a rental, this is often the whole pantry. A tall narrow cart plus a shelf of bins does more work than a bad closet retrofit.
16. File wraps and boxes upright, not flat
Boxes of foil, parchment and freezer bags stacked flat means digging to the bottom every time. Stand them on end in a magazine file or a tall bin instead. You see all the labels at once and you pull one out without disturbing the rest.
Labels and Habits That Keep It Tidy
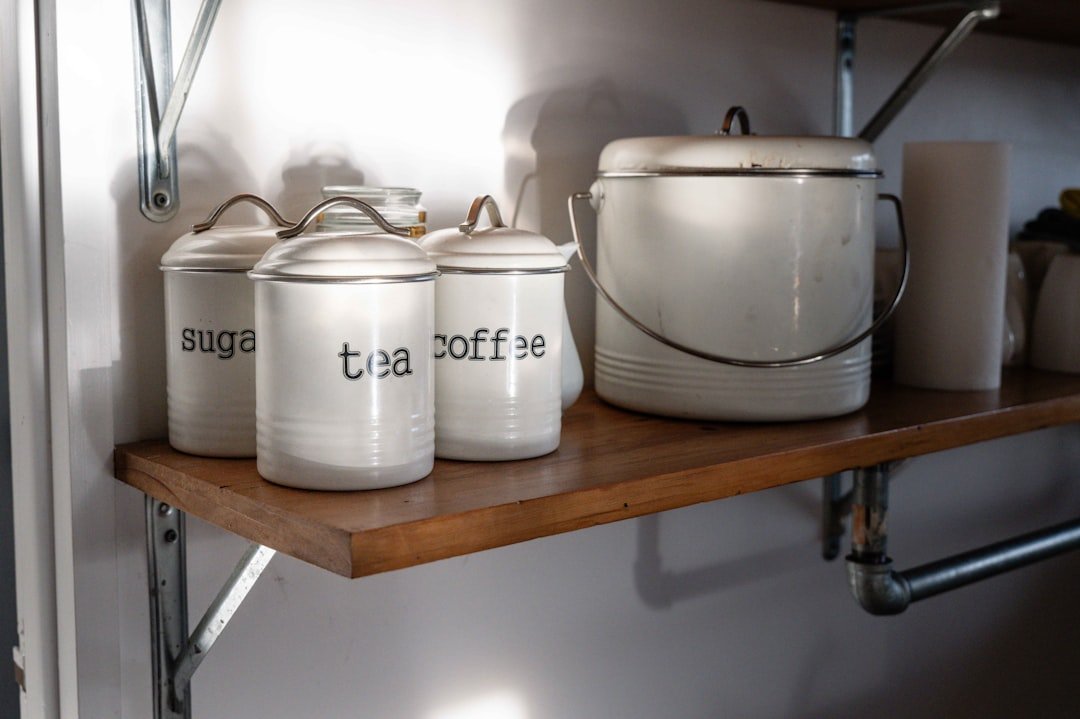
Any pantry looks good the day you finish it. What matters is whether it survives the next four grocery runs. That comes down to labels and two small habits.
17. Label the bin, not just the container
Labels on jars help you. Labels on bins are what keep the system alive, because they tell everyone else in the house where things go back. Without them, the pantry reverts to whoever unpacked the last shopping bag.
A Brother P-touch label maker is the workhorse here. Chalk labels look softer and can be rewritten, though they smudge if the bin gets handled a lot.
18. Write the date on tape when you decant
The moment you pour flour into a jar, you throw away the best-by date. A strip of masking tape on the bottom with the month and year solves it in five seconds.
19. New groceries go behind, not in front
Front-to-back rotation is what restaurant kitchens do, and it is the reason they rarely throw food away. When you unpack shopping, push the older item forward and slide the new one behind it.
Ten extra seconds per item. It is the difference between eating your backstock and finding it two years expired.
20. Run a ten-minute reset on grocery day
Before you unpack, spend ten minutes putting strays back, wiping a shelf, and pulling anything expired. Not a deep clean. Just a reset.
Weekly beats seasonal by a mile, because ten minutes a week never turns into the four-hour project you keep postponing. If you like this rhythm, our guide to stylish home organization ideas that actually look good applies the same habit to the rest of the house.
Color, Light and Finish
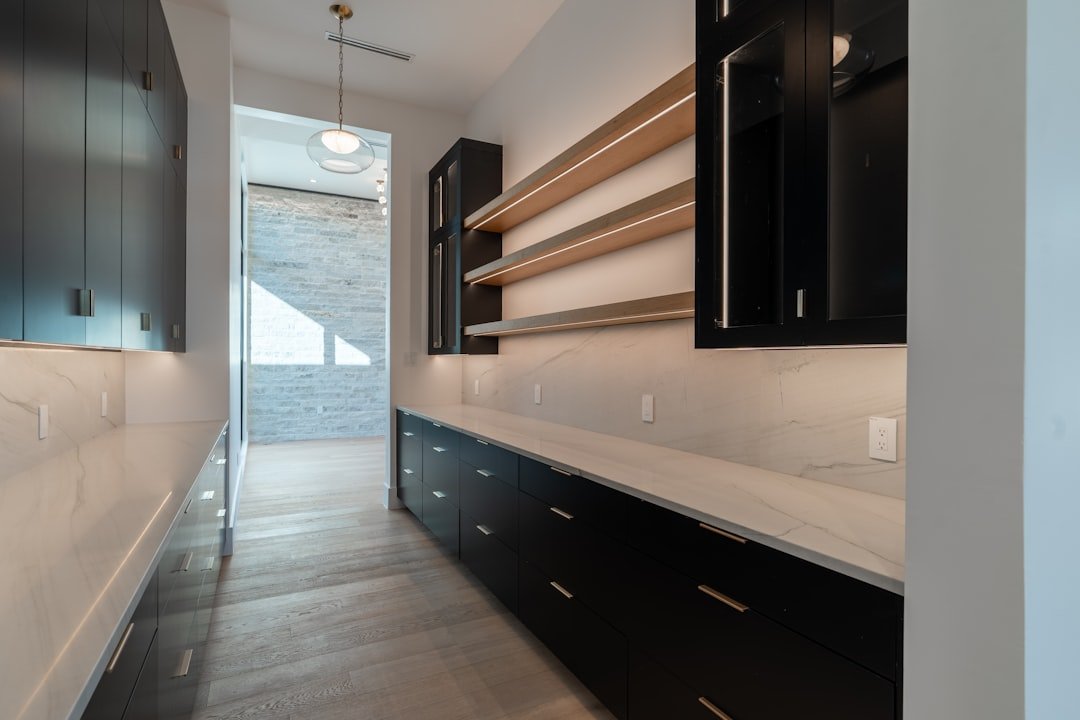
A pantry is a small enclosed box, which makes it one of the best places in a house to try a color you would never commit to in a living room. It is also the room most likely to have terrible lighting.
21. Paint the interior a soft warm white
If your pantry is dim or windowless, warm white keeps it bright without going clinical. Benjamin Moore White Dove OC-17 has an LRV around 85 and just enough warmth to stop it reading gray. Sherwin-Williams Alabaster 7008 does the same job with a slightly creamier feel.
Use a satin or semi-gloss enamel, not flat. Pantry walls get knocked by boxes and need to wipe clean.
22. Or go deep and moody in a small one
A tiny pantry is already a dark box, so leaning into it often looks better than fighting it. Sherwin-Williams Pewter Green 6208, Benjamin Moore Hale Navy HC-154 and Farrow and Ball Hague Blue 30 all turn a closet into a deliberate design moment.
If you like this approach in the main kitchen too, see our olive green kitchen ideas for the same palette at full scale.
23. Fix the lighting before you blame the shelves
Half of pantry frustration is simply not being able to see. A rechargeable motion-sensor puck light on each shelf takes two minutes and no wiring. An LED strip tucked under the front lip of each shelf looks more built-in.
Choose a warm bulb temperature, around 2700K to 3000K, so food looks like food. Cool white makes a pantry feel like a supply closet.
24. Warm it up with wood, rattan and a runner
All-plastic pantries look sterile even when they are perfectly tidy. Mix in a few woven baskets for potatoes and onions, a wood cutting board leaned at the back, and a narrow runner on the floor of a walk-in.
Texture is what makes an organized pantry look styled rather than industrial. The same logic drives our white kitchen ideas that feel warm, not sterile.
How to Choose a Pantry Setup for Your Space
Before you order anything, measure and answer four questions. This is the part that saves you from a return trip.
How deep are the shelves? Under 12 inches, single-file everything and skip pull-outs. Between 12 and 16 inches, bins and turntables work well. Over 16 inches, you need pull-out drawers or the back half is lost.
How much headroom is between shelves? Measure the gap. If it is over 12 inches and you are storing cans, a riser or stacking bins will nearly double what fits.
Are the shelves wire or solid? Wire shelving lets small items tip and crumbs fall through. A cut-to-size shelf liner fixes both problems for a few dollars and makes bins slide instead of catch.
Do you own or rent? Owners can mount door racks, add pull-outs and install an Elfa or BOAXEL system. Renters should lean on freestanding pieces: IKEA IVAR shelving, a rolling cart, over-the-door racks and stacking bins that move with you. Our entryway storage ideas cover the same rent-friendly approach at the front door.
Pantry Organization FAQ
What is the best way to organize a pantry?
Empty it, group food by how you cook rather than by package type, then put daily items between 30 and 60 inches off the floor. Add bins for categories, risers for cans, turntables for bottles, and labels so everything has a home. Buy containers last, after you know what you are actually storing.
Should I decant everything into matching containers?
No. Decant the staples that go stale or spill, such as flour, sugar, rice, pasta, cereal, oats and nuts. Leave canned goods, jars and quick-turnover pouches in their original packaging so you keep the cooking instructions and expiry dates.
How deep should pantry shelves be?
Twelve to sixteen inches is the sweet spot. Shallower shelves are easier to see but hold less. Anything deeper than sixteen inches needs a pull-out drawer or a bin you can slide forward, otherwise the back becomes dead space.
How do I organize a pantry on a budget?
Sorting and zoning cost nothing and deliver most of the improvement. After that, the highest value cheap buys are shelf liner, a couple of turntables, a can riser and a marker with masking tape for labels. Skip the full matching container set until you know your shelf dimensions.
How do I keep pantry moths and bugs out?
Airtight containers are the main defense, since moths get into paper and cardboard packaging easily. Transfer flour, rice, grains and pet treats into sealed containers, wipe up spills quickly, and check any new bulk bag before it goes on the shelf.
What color should I paint a pantry?
Warm whites like Benjamin Moore White Dove OC-17 or Sherwin-Williams Alabaster 7008 keep a dim pantry bright. For a small closet pantry, a deep shade such as Sherwin-Williams Pewter Green 6208 or Farrow and Ball Hague Blue 30 looks intentional and hides marks. Use a wipeable satin or semi-gloss finish either way.
How often should I reorganize my pantry?
A full reset twice a year is plenty if you run a ten-minute tidy on grocery day. The weekly habit is what prevents the big overhaul, so if you only adopt one thing from this list, adopt that one.
A Pantry You Will Actually Keep Up With
You do not need a walk-in, a custom build or fifty matching jars. You need to see what you own, give every category a home, and put new groceries behind the old ones.
Start with one shelf this weekend. Empty it, group what comes off it, and put it back with a bin and a label. That single shelf usually convinces you to do the rest.
Browsing for more ideas? Our home organization and decor section has room-by-room guides, and the kitchen color guides are worth a look if a repaint is on the list.